Someone was WATCHING me as I designed all of this on Photoshop!

Materials Needed:
-My downloads (See Below...)
-A cutting board (or scissors)
-Adhesive (I used Scrapbooking Tape)
-A hole punch
-Some pink or white ribbon
-Seven white envelopes (not the long ones) SIZED: 3 5/8 x 6 ½
-A cute puppy that will try to steal your ribbon….
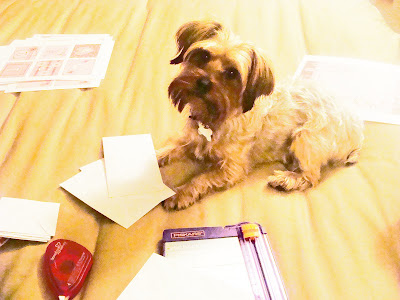
He has to be in the middle of everything!!
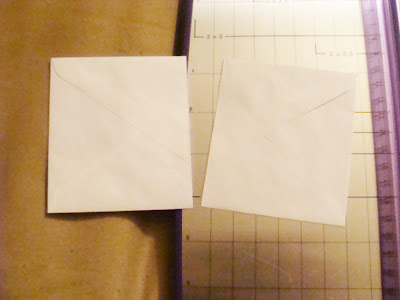
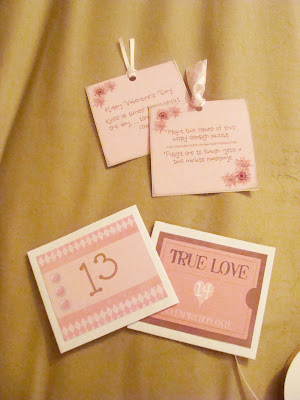
Seal the envelopes & cut them in half like you see above...
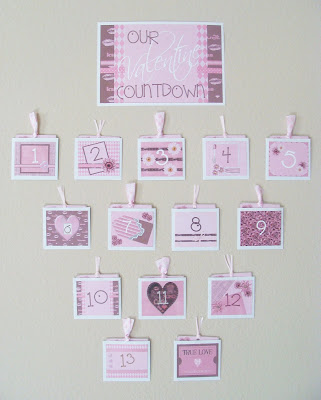
 I cut a tiny white border around my sign... (see the first pic)
Download Sign HERE!
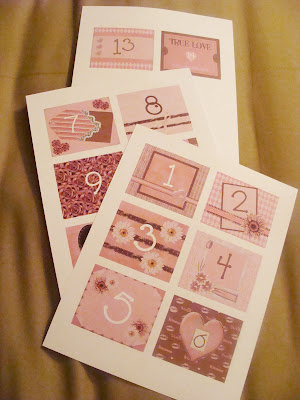
Cut out the number cards...that you will be attaching to the front of the envelopes...
Download Number Cards HERE!
 I made the cards that will go inside the envelopes....but since the gal from "Love, Actually" is selling her cards, I didn't feel right about offering that part for free. SO - you have three options:
#1) Go to her blog and purchase her darling cards for a great price HERE.
#2) Download my pdf file and then you can write on them - HERE.
#3) Download my word doc and then you can type in your stuff in word - HERE.
P.S. If you choose to download the word document...so you can type in your own "daily to-do's" here are some HINTS! After opening the document, click on Insert (at the top) and then text box. Sometimes an annoying box automatically appears on your page, ignore it and draw a bow on the first blank card. (You do this by right-clicking on the mouse and then holding it down as you size your box.) NOW - here's the hint ...you will find that the box is white and it covers up the lovely design of the card...you can fix that by right-clicking on the box (it has to be on the line), when a new screen appears, click on Format Text Box. On THAT screen under the subtitle, "Fill" you will see the word, "Transparency"....and a slider bar next to it. Click on that bar and slide it ALL the way to the right. NOW - you will be able to see the design. Oh - and don't forget to change your LINE...to "No Line." Click OK to save everything. Good Luck!
